3. Getting Started
This page describes the concept of DATAGERRY and explains the usage of the DATAGERRY Assistant for a quick start.
Note
For a detailed explanation on how to use DATAGERRY follow this link to the Framework page
3.1. Concept of DATAGERRY
DATAGERRY is an asset management tool (or CMDB), where you can define the data model on your own and store information in Objects. An Object can be for example a router, server, location or maintenance contract and consists of multiple fields (e.g. management IP, hostname, … of a router). Each field has a specific data type. A data type could be for example text, checkbox, date, dropdown and many more.
The blueprint for an Object is defined in a Type. They define the following details for all Objects of that Type:
Fields and their data type
Type icon
Type name
External links
The type definition can be changed at any time, even if Objects of that Type already exist.
3.2. DATAGERRY Assistant
The DATAGERRY Assistant helps you get started with DATAGERRY with some simple steps. It will popup when you start DATAGERRY for the first time or can alternatively be accessed by pressing Toolbox => Assistant in the top right corner (in the case that you first want to explore DATAGERRY on your own).
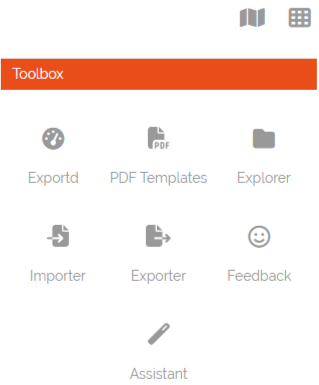
Picture: Assistant in Toolbox
After starting the DATAGERRY Assistant you will have the possibility to choose between different common branches which are used by CMDB’s. It is possible to select multiple branches or even all of them.
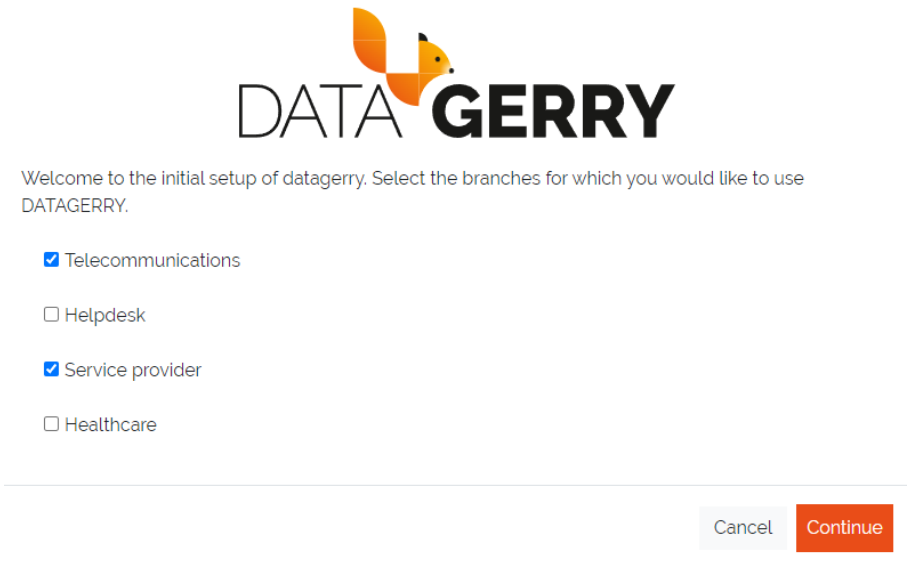
Picture: Branch selection
After pressing the “Continue”-Button there will be several profiles displayed depending on the selected branches. Each profile holds a set of types commonly used for these kinds of assets. Here it is further possible to adjust your requirements by selecting/deselecting profiles.
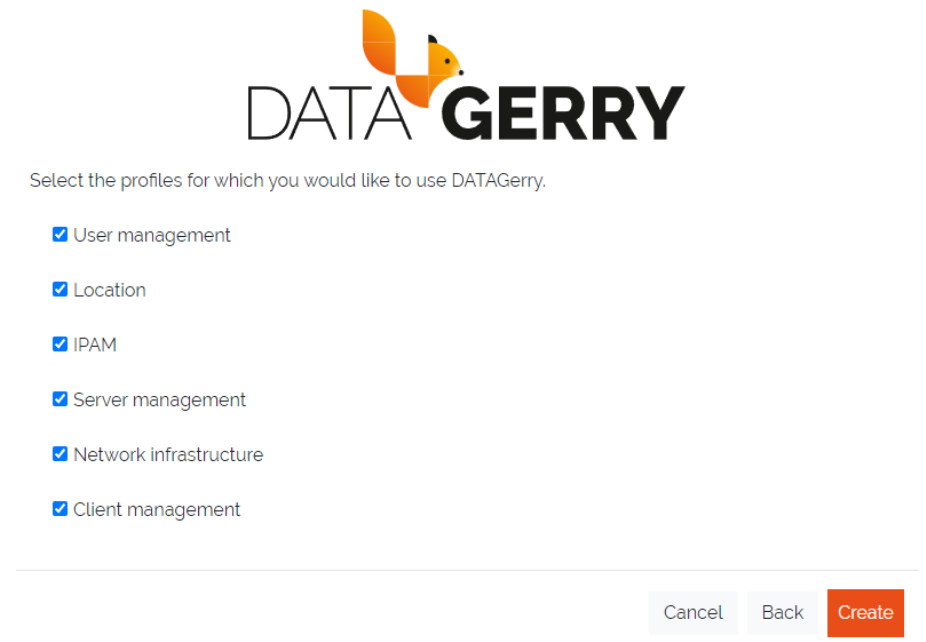
Picture: Profile selection
Once hitting the “Create”-Button all Types from the selected profiles will be created and you will be redirected to the type overview (alternatively accessed by pressing Framework => Types in the top right corner). The created Types will also be visible in the sidebar grouped in Categories (depedending on the selected branches and profiles).
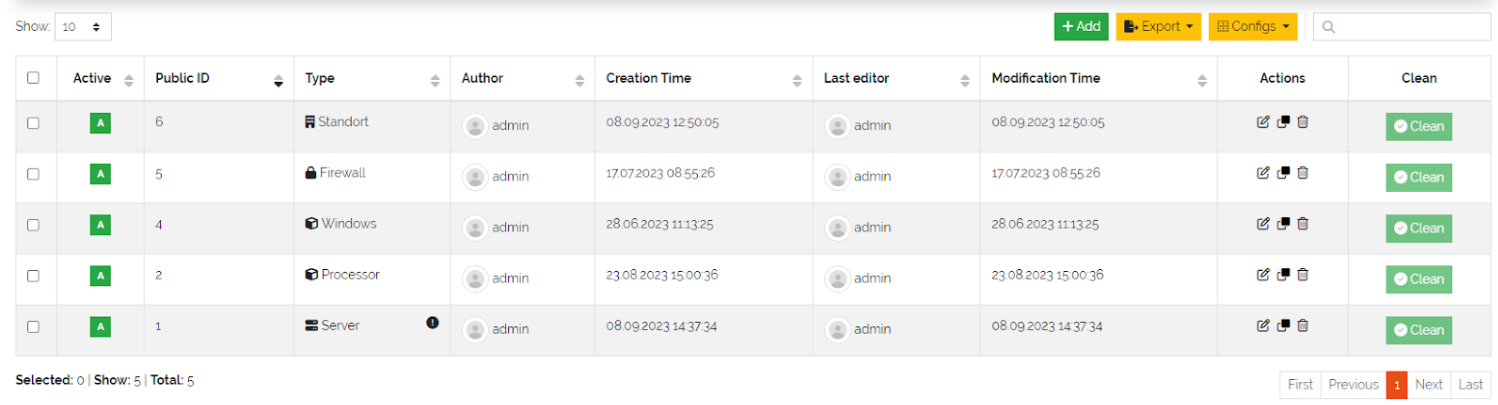
Picture: Type overview table
In this table you can access the configurations of the created Types by hitting the “Edit”-Icon in the “Actions”-column and get a first impression of how Types are structured in DATAGERRY. You can also create new Types by pressing the green “+Add”-button above the table and adjust DATAGERRY to your requirements.
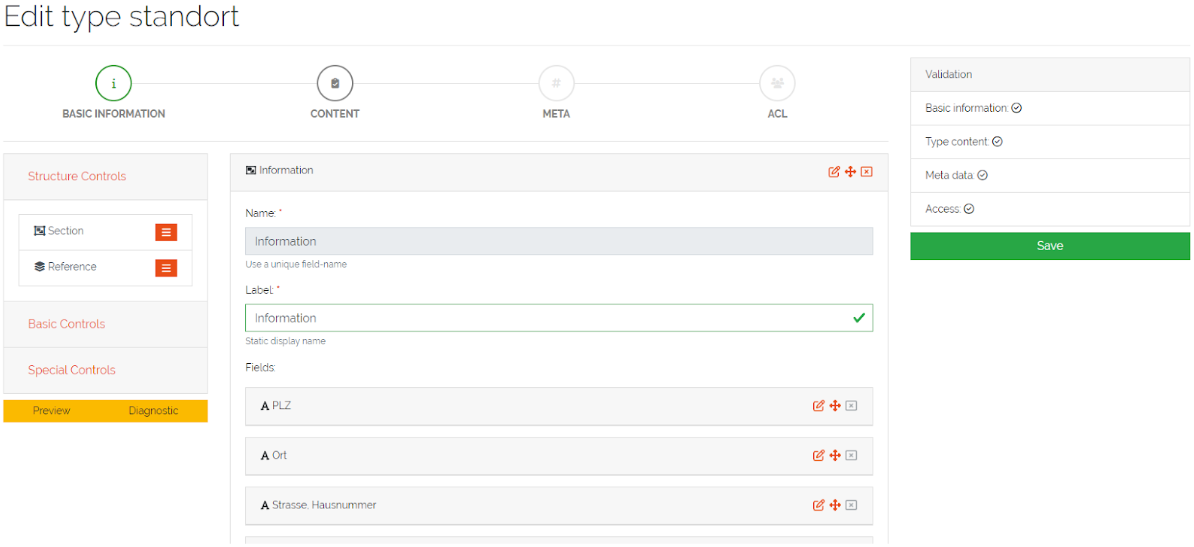
Picture: Type editing form